First thing to do is make a new
folder for your icons in a place of your choosing and name it
"HardDriveIcons".
Next, collect your icons and place them in the "HardDriveIcons" folder.
Note; All icons should be 256x256 in size w/ .ico extension.
Now, open "Regedit" and navigate to; HKEY_CURRENT_USER\Software\Classes
Expand "Classes" and scroll down to "Applications" (if that key does not exist, create it by right clicking on "Classes", then "New", then "Key", name it, then hit Enter)
Under "Applications" expand "Explorer.exe", then "Drives" (if neither of those sub-keys exist, create "Explorer.exe" by right clicking "Applications", then "New", then "Key", name it, then hit "Enter", create "Drives" by right clicking "Explorer.exe", then "New", then "Key", name it, then hit "Enter")
Now, under "Drives" create new keys for each drive using the drive letter as the name, then under each drive, create a new sub-key and name it "DefaultIcon"
When finished it should look something like this;
Now, to change the icons;
Click on "DefaultIcon" and in the right pane, right click on (Default), then click on "Modify", then in the "Value" Data box, enter the location of your hard drive icons,
ie: J:/HardDriveIcons/black.ico.
Do this for each drive icon you wish to change and that's it, your done.
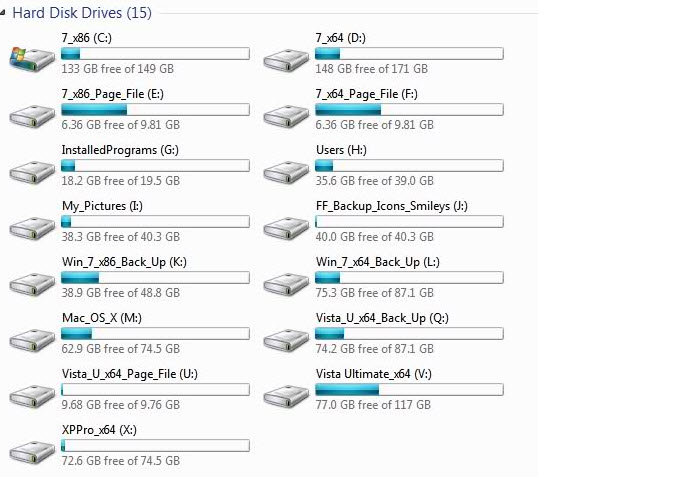
Before: Standard Windows Drive Icons
Click on "DefaultIcon" and in the right pane, right click on (Default), then click on "Modify", then in the "Value" Data box, enter the location of your hard drive icons,
ie: J:/HardDriveIcons/black.ico.
Do this for each drive icon you wish to change and that's it, your done.
Before: Standard Windows Drive Icons